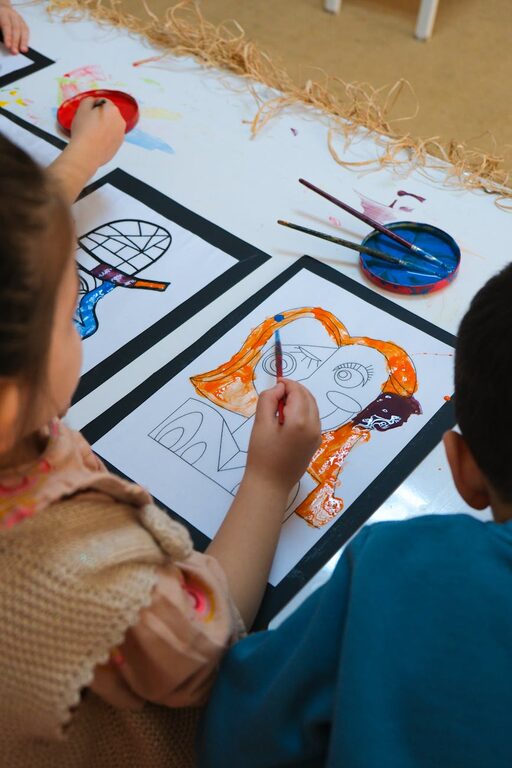
Every parent knows that children’s artwork is precious. From colorful scribbles to proud paintings, these creations capture moments of growth and creativity. However, as the stacks of drawings and crafts grow, it can quickly become overwhelming to keep them organized. Finding simple and effective ways to store, display, and cherish your child’s art helps preserve memories without turning your home into a cluttered gallery.
In this post, we’ll explore practical tips and creative ideas to keep your kids’ art organized and meaningful.
Why Organizing Kids’ Artwork Matters
Before we dive into strategies, let’s briefly consider why keeping these creations organized is helpful:
– Preserve Memories: Artwork is a snapshot of your child’s development and interests.
– Reduce Clutter: Having a system prevents piles of paper from taking over your space.
– Encourage Creativity: Seeing their art displayed or neatly stored can inspire kids to create more.
– Easy Access: Organized collections make it easier to share and look back on their work.
Tips for Organizing Kids’ Art
1. Create a Dedicated Art Storage Space
Set aside a specific area in your home to store art supplies and finished creations. This could be a drawer, a box, or a shelf.
– Use a plastic bin or portfolio folder labeled by child or year.
– For larger three-dimensional pieces, consider clear storage containers.
– Keep art supplies nearby to encourage creative sessions and easy cleanup.
2. Sort and Declutter Regularly
Kids produce a lot of artwork, and not every piece needs to be kept indefinitely.
– Go through artwork every month or season with your child.
– Decide together which pieces to keep, display, photograph, or recycle.
– Teach kids that it’s okay to let go of some items while honoring special pieces.
3. Use an Art Display System
Displaying your child’s art can boost their confidence and brighten up your home.
– Gallery Wall: Dedicate a wall or bulletin board where you can rotate art regularly.
– Frames and Clips: Use frames, clipboards, or wire with clips to easily swap out pictures.
– Digital Frames: For tech-savvy families, digital photo frames can showcase scanned artwork slideshows.
4. Digitize Artwork for Space-Saving
Digitizing art lets you preserve every creation without physical storage issues.
– Take photos of paintings, drawings, and crafts using a smartphone or camera.
– Use apps or cloud storage to organize images by date or theme.
– Create digital photo books to keep printed versions of favorites.
5. Make Art Books or Portfolios
Turning artwork into a book is a wonderful way to save space and keep memories accessible.
– Use online services to design printed photo books with images of your child’s art.
– Alternatively, create a binder or scrapbook with original pieces and notes.
– Label each book by year or age for easy chronological browsing.
6. Repurpose Art into Gifts and Keepsakes
Transforming artwork into other items gives it new life and purpose.
– Use drawings to create greeting cards for family and friends.
– Turn art into custom calendars, mugs, or tote bags through printing services.
– Laminate artwork for placemats or bookmarks.
7. Encourage Your Child’s Involvement
Involving your child in organizing helps build responsibility and appreciation for their work.
– Let kids choose favorites to display or save.
– Teach sorting skills by categorizing art by color, theme, or date.
– Make it a fun family activity with music and snacks.
8. Use Storage Solutions That Grow with Your Child
As kids grow, their art and storage needs evolve.
– Invest in stackable boxes or modular storage that can adjust over time.
– Label containers clearly with contents and dates.
– Keep seasonal or holiday artwork separate for easy access each year.
Final Thoughts
Keeping kids’ art organized is about balancing preservation with practicality. By establishing systems that suit your family’s space and lifestyle, you can celebrate creativity without the stress of clutter. Remember, the goal is to honor your child’s artistic journey while maintaining a tidy home. Happy organizing!
—
If you found these tips helpful, feel free to share your own ideas or photos of your art organization setups in the comments below!

